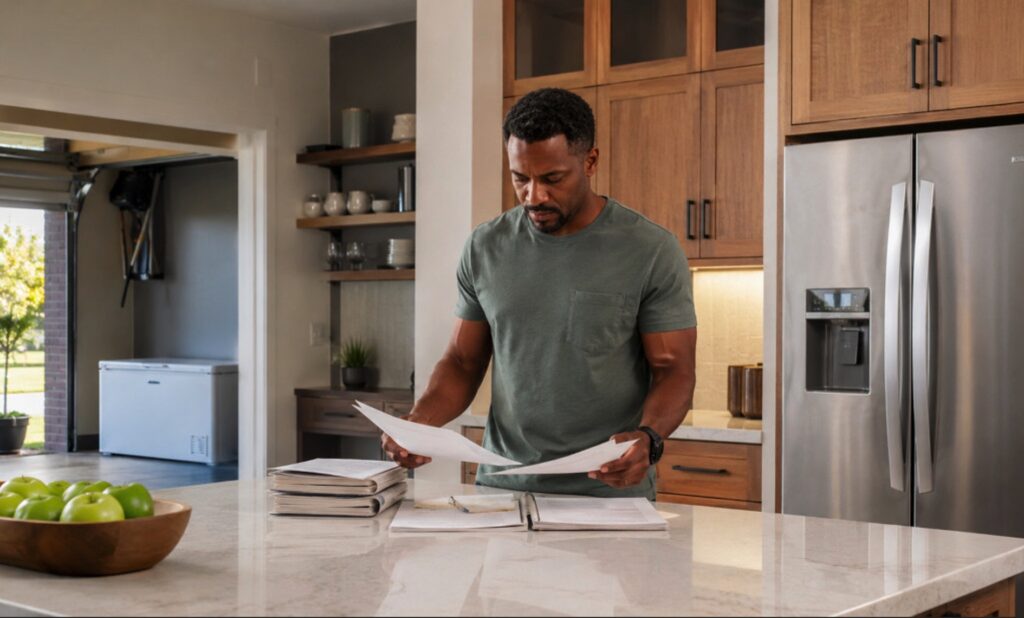
One of the most common questions homeowners ask after an appliance starts acting up is simple:
“Is it worth fixing, or should I replace it?”
The answer often depends on one thing many people don’t know: how long the appliance is actually expected to last.
I was reminded of this during a service call in Sandy Springs last summer. A homeowner had a 14-year-old refrigerator that wasn’t cooling consistently. Several people had already suggested a replacement. After a thorough inspection, the problem turned out to be a failing evaporator fan motor and heavily clogged condenser coils. The repair cost a fraction of the price of a new refrigerator and restored reliable operation.
Situations like that aren’t unusual.
Many homeowners replace appliances years before they are necessary because they assume age alone determines reliability. Others keep aging equipment long after efficiency and dependability have declined. Understanding appliance lifespan helps you make smarter decisions about maintenance, repairs, and replacement.
The good news is that most kitchen appliances can last much longer than people expect when they’re properly maintained.
Key Takeaways
- Refrigerators typically last between 10 and 20 years.
- Chest freezers often last longer than refrigerators because they have simpler mechanical systems.
- Atlanta’s heat and humidity can shorten appliance lifespan when maintenance is neglected.
- Many appliances under 10 years old are still worth repairing.
- Premium brands often provide longer service life but require specialized repairs.
- Routine maintenance is the single biggest factor affecting appliance longevity.
Average Lifespan of Common Kitchen Appliances
While every appliance is different, most fall within predictable lifespan ranges.
| Appliance | Average Lifespan |
| Refrigerator | 10–20 years |
| Chest Freezer | 15–20 years |
| Upright Freezer | 15–20 years |
| Built-In Ice Machine | 10–15 years |
| Dishwasher | 9–12 years |
| Gas Range | 13–15 years |
| Electric Range | 10–13 years |
These numbers should be viewed as guidelines rather than guarantees. I’ve seen well-maintained refrigerators still operating after 20 years, while neglected units sometimes fail much earlier.
The difference usually comes down to maintenance, operating conditions, and build quality.
Refrigerator Lifespan: What Homeowners Should Expect
Refrigerators are among the hardest-working appliances in any home. Unlike many household systems, they operate around the clock every day of the year.
Most modern refrigerators last between 10 and 20 years. Simpler top-freezer models often outlast more complex French-door and side-by-side designs because they contain fewer electronic components and moving parts.
During service calls, the problems I encounter most often are not catastrophic compressor failures. More commonly, refrigerators develop issues involving:
- Evaporator fan motors
- Condenser fan motors
- Defrost systems
- Start relays
- Door gaskets
- Temperature sensors
Many of these repairs are relatively affordable when diagnosed early.
One mistake homeowners frequently make is ignoring small warning signs. A refrigerator that suddenly becomes louder, runs longer, or struggles to maintain temperature is often signaling a developing issue long before a complete breakdown occurs.
Why Chest Freezers Often Last Longer
If reliability is your primary concern, chest freezers are hard to beat.
Their design is remarkably simple compared to most refrigerators. Because cold air naturally settles downward, less cooling is lost when the lid opens. This allows the compressor to operate more efficiently and experience less wear over time.
It’s not uncommon to find chest freezers that remain operational after 20 years of service.
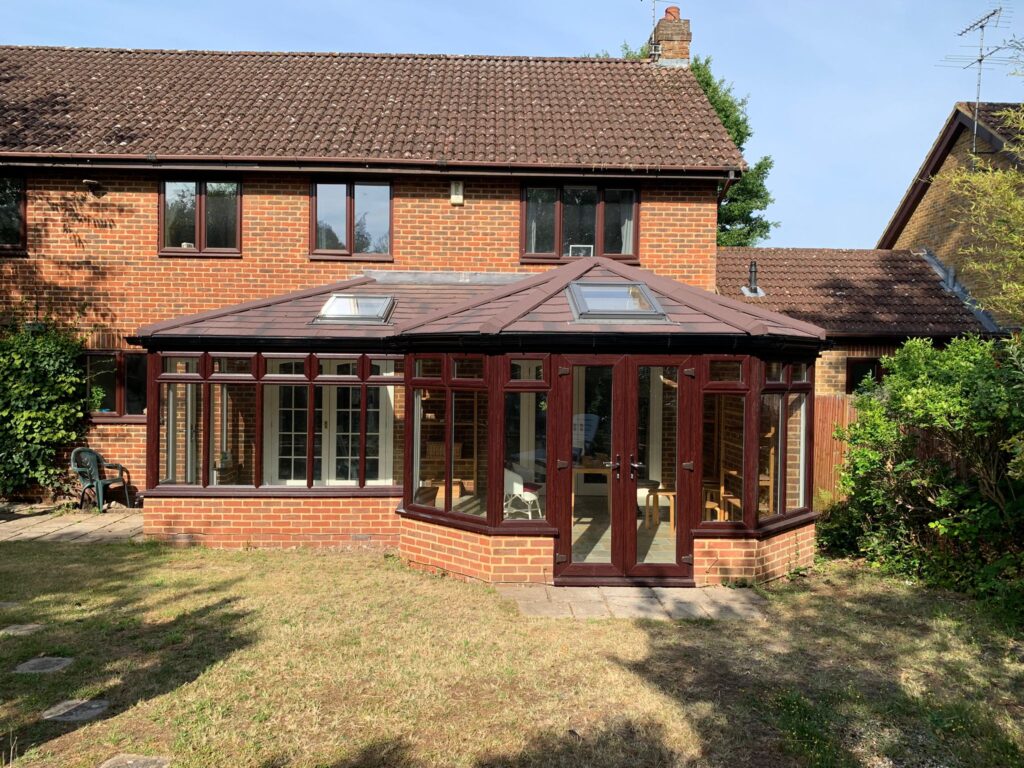
For Atlanta homeowners who need extra food storage, chest freezers are often a better choice than placing a second refrigerator in the garage.
Alt text: Garage refrigerator in an Atlanta home during summer heat as a homeowner performs routine maintenance to improve appliance lifespan.
The Atlanta Factor: Why Climate Matters
Many appliance lifespan guides provide national averages but overlook an important variable: location.
Atlanta’s climate can be surprisingly demanding on refrigeration equipment.
During summer, outdoor temperatures frequently exceed 90°F. In garages and other unconditioned spaces, temperatures can climb much higher. Refrigerators and freezers operating in these environments must work significantly harder to maintain internal temperatures.
I’ve seen many garage refrigerators experience major repairs several years earlier than identical units operating inside climate-controlled kitchens.
Common issues include:
- Increased compressor wear
- Fan motor failures
- Reduced cooling efficiency
- Higher energy consumption
- Premature component breakdown
That doesn’t mean garage refrigerators are a bad idea. It simply means maintenance becomes even more important.
Homeowners who clean condenser coils regularly and address minor issues quickly often get substantially longer service life from these appliances.
Do Premium Appliance Brands Last Longer?
Premium appliance manufacturers frequently market longevity as one of their biggest advantages.
In many cases, those claims are justified.
Brands such as Sub-Zero, Wolf, and Thermador typically use higher-quality components and more sophisticated engineering than standard consumer models. While these systems are built for longevity, they also require technicians with specialized training and experience. Homeowners dealing with cooling issues often benefit from working with experts who specialize in Sub-Zero Refrigerator Repair in Atlanta.
Sub-Zero refrigerators, for example, use dual refrigeration systems that independently manage refrigerator and freezer compartments. This design reduces moisture transfer and places less stress on the cooling system.
I’ve seen properly maintained premium refrigerators remain in service well beyond the 20-year mark.
However, there’s an important tradeoff.
Premium appliances often require specialized service and proprietary replacement parts. Finding a technician with experience working on these systems is essential. An incorrect diagnosis on a high-end appliance can quickly become an expensive mistake.
Repair or Replace? A Practical Decision Framework
One of the biggest misconceptions homeowners have is that an expensive repair automatically means replacement is the smarter choice.
In reality, the decision is rarely that simple.
When evaluating an appliance, I look at several factors: its age, repair history, overall condition, replacement cost, and whether parts are still readily available. A refrigerator that’s eight years old with a failed fan motor may still have many years of reliable service left. On the other hand, a 17-year-old unit with recurring cooling issues and multiple recent repairs may no longer justify additional investment.
Consider Repairing If:
- The appliance is less than 10 years old.
- Repair costs are less than 50% of replacement costs.
- The appliance has been reliable historically.
- Replacement parts are readily available.
- Energy efficiency remains reasonable.
Consider Replacing If:
- The appliance has exceeded its expected lifespan.
- Multiple major repairs have occurred recently.
- Parts are becoming difficult to obtain.
- Energy consumption is significantly higher than that of newer models.
- Repair costs approach or exceed replacement costs.
One thing I’ve learned over the years is that maintenance history often matters more than age alone. Appliances that receive regular care typically outlast neglected units by several years. The same principle applies to homeownership as a whole. In fact, many of the lessons I learned about preventing costly repairs came from working with older properties, as discussed in this article on prioritizing maintenance in older homes.
Whether you’re maintaining a refrigerator or an entire house, small issues are usually far less expensive to address than major failures. The goal isn’t simply to keep things running—it’s to maximize value by making informed decisions before minor problems become costly replacements.
Before replacing an appliance that’s showing signs of trouble, it’s worth getting a professional diagnosis. In many cases, a relatively minor repair can add years of reliable service and delay the cost of replacement. Experienced technicians, such as the team at Appliance EMT, can often identify issues that homeowners mistake for end-of-life failures, helping you make a more informed and cost-effective decision.
Four Maintenance Tasks That Can Add Years to Appliance Life
The difference between a refrigerator that lasts 11 years and one that lasts 18 years often comes down to maintenance.
1. Clean Condenser Coils
Dirty condenser coils force the refrigeration system to work harder.
Dust, pet hair, and debris restrict airflow, increasing operating temperatures and accelerating wear.
Most homeowners should clean condenser coils at least once or twice per year.
2. Inspect Door Seals
Damaged gaskets allow conditioned air to escape.
Even small air leaks can increase compressor runtime and energy consumption.
A simple paper test can reveal problems. Close the door on a sheet of paper and gently pull. If the paper slides out easily, the seal may need attention.
3. Replace Water Filters Regularly
Ice makers and water dispensers depend on adequate water flow.
Clogged filters can reduce performance and place additional strain on components.
Following the manufacturer’s replacement schedule helps prevent avoidable issues.
4. Address Frost Buildup Early
Excessive frost often indicates a problem with the defrost system, door gasket, or airflow.
Ignoring frost accumulation can eventually lead to more expensive repairs.
Warning Signs You Shouldn’t Ignore
Most appliance failures don’t happen without warning.
The homeowners who avoid major breakdowns are usually the ones who respond quickly when something changes.
Watch for:
- Unusual noises
- Longer cooling cycles
- Rising utility bills
- Inconsistent temperatures
- Excessive frost buildup
- Water leaks
- Reduced ice production
- Doors that don’t seal properly
Early diagnosis often turns a major repair into a minor one.
Common Appliance Challenges in Atlanta Homes
Atlanta homeowners face a few unique challenges that aren’t always discussed in national appliance guides.
Many homes have secondary refrigeration units in garages, basements, workshops, or storage rooms. These appliances frequently receive less attention than kitchen units and often operate in harsher conditions.
Older homes in communities such as Decatur, Smyrna, East Cobb, and parts of Sandy Springs can also experience water quality and plumbing issues that affect ice makers, water dispensers, and built-in refrigeration systems.
But the biggest challenge remains heat.
When condenser coils are already dirty heading into summer, July and August often expose weaknesses that weren’t noticeable during cooler months. Homeowners may first notice higher electric bills, followed by declining performance and eventual repair needs.
Frequently Asked Questions
How long should a refrigerator last?
Most refrigerators last between 10 and 20 years, depending on design, maintenance history, and operating conditions.
Is it cheaper to repair or replace a refrigerator?
If the refrigerator is under 10 years old and repair costs are less than half the replacement cost, repair is often the better financial decision.
Do premium refrigerators last longer?
In many cases, yes. Premium appliances often use higher-quality components and advanced engineering, but they require proper maintenance and specialized service.
How often should refrigerator coils be cleaned?
Most homeowners should clean condenser coils once or twice per year. Homes with pets may benefit from more frequent cleaning.
Is it okay to keep a refrigerator in the garage?
Yes, but garage refrigerators typically experience greater stress during Atlanta summers and require more maintenance than units operating indoors.
Final Thoughts
Kitchen appliance lifespan isn’t determined by age alone. Maintenance habits, environmental conditions, build quality, and usage patterns all play important roles in how long an appliance remains reliable.
For Atlanta homeowners, the combination of heat, humidity, and extended summer cooling demands can accelerate wear on refrigeration equipment, particularly in garages and other unconditioned spaces.
The homeowners who get the most value from their appliances aren’t necessarily the ones who buy the most expensive models. They’re usually the ones who recognize warning signs early, perform routine maintenance, and address small problems before they become costly failures.
Before replacing an appliance that’s showing signs of trouble, it’s worth getting a professional diagnosis. In many cases, a relatively modest repair can add years of reliable service and postpone the cost of replacement.
partnered post • client image